Showing posts with label Decor. Show all posts
Tuesday, June 10, 2014

Painted Basket


I always have a running list in my head (or on my phone) of things I am looking for at garage sales or thrift stores. A basket for under my couch table has been on my list for a LONG time. My table is only about 12 inches deep so I have had a hard time finding a basket that was big enough but not too wide.
Well, I finally found one and for the price I wanted to pay, $6.00.

Painted basket - the colored door

I didn't love the color of the stripes but I knew a little paint could fix that.

Painted Basket - the colored door

I pulled out my plain white craft paint and painted away.

Painted basket - the colored door

I did my best to get in between the pieces but I was not too concerned about it being perfect.

Painted basket - the colored door

It is not a perfect paint job but I knew it was going on the floor and didn't have to be perfect.

Painted basket - the colored door

It works perfect for storing extra pillows and blankets.

Painted basket - the colored door

painted basket - the colored door

It is just what I needed to fill the space under the table. And my outdoor pillows fit just right in the basket when not in use.

Painted basket - the colored door

This week is our first week of summer and I am determined to be more organized with chores and some school work. Plus we all have to get used to being together all. the. time. Which always takes some patience and time. Hope you are getting off to a great start this summer. I am looking forward to lazy days ahead, I still can't believe it is summer. It feels like a long weekend still.

Have a great day!


Sharing over at: Tiny SidekickWinthrop ChroniclesNot Just a HousewifeLil Mrs. ToriJust a Girl and her blogthe Turquoise HomeCherished BlissThe Life of Jennifer Dawn733 BlogSomeday CraftsHomecoming MNLiving Well Spending LessRemodelaholic
Wednesday, May 28, 2014

DIY Alphabet Books


A few weeks ago the kids and I went to visit my parents and I always come prepared when I visit. My Dad has all the woodworking tools you could need and my Mom has all the sewing tools and instruction you could need. I have seen books cut into letters at a few stores and I really liked them. So I headed to my local thrift shop and found some books with pretty covers. I would have loved to find some with a little more design but apparently those are harder to come by. I LOVE how these turned out, I am seriously addicted. I am sure I have way more letters than necessary. We even went to a local thrift shop so I could get more books while I was there.

DIY Alphabet books - The Colored Door

We used mostly block letters and traced our letters out on our books first. My Dad cut them on a scroll saw, it worked beautifully! We tried to make an X until we realized we would have to cut most of the spine off and that would not work. That was the only limit, you had to pick letters that still kept the spine intact.

DIY Alphabet Books - The Colored Door

I really wanted an "S" since that is the initial in our last name and it worked, but there isn't much spine left. Maybe a block letter "S" would be better. For the "S" we did print out a letter off the computer to trace.

DIY Alphabet Books - The Colored Door

I love all the different colors! My daughter requested a pink "E" for her name and I had to search high and low for a pink book. It was fun hunting for just the right colors behind those jackets.

DIY Alphabet Books - The Colored Door

So far I am not sharing the books with the kids, maybe someday they will make it up to their rooms.


DIY Alphabet Books - The Colored Door

DIY Alphabet Books - The Colored Door


 DIY Alphabet Books - The Colored Door


Such a fun project! So lucky to have a great Dad with lots of tools, wish he was closer. But then I might keep him too busy with my projects.

Have a Great Day!!


Sharing over at: Cherished Bliss
Monday, May 5, 2014

I needed a few more stripes!


It feels so good to have our garage sale done! Our neighborhood sale brings in lots of traffic so we got rid of so much stuff. The rest is bagged up ready to donate, I love taking empty bins back downstairs. I might need a few more days to get the garage back in order, but I am close.

Well, my latest project involves stripes, which I love and can't get enough of. I decided to make some art with a frame this time. I have been wanting to learn how to use power tools especially saws for wood working. So I picked a small project to start. I wanted to make something for above my laundry room cabinets. It has been raining for a week and my laundry room does not get great light so the pictures were not looking too good. So this piece is currently living above a bookshelf in my family room, it may get moved around a bit.

DIY striped art - the colored door

Ok, so I went to Home Depot and bought a piece of MDF and had them cut it so size. I also picked out a piece of 1x2.

DIY striped art - the colored door

First I painted my MDF white then went to my sample paint stash and picked out some colors. I choose a yellow, teal, gray and white.

DIY striped art - the colored door


I decided I wanted all different width stripes. My board is 19" wide so I planned out the size of each stripe. The sizes went 2", 3", 1.5", 4", 2", 3", 1.5" and 2". I taped off the first set of stripes then just free hand painted the second set. I was afraid if I taped over the newly painted areas it would pull off the paint. I didn't have any delicate painters tape. Also I am impatient and didn't want to wait for the paint to dry before starting the next colors.


DIY striped art - the colored door

I used my 3 colors but added white so I had a light and dark version of each color.

DIY striped art - The colored door

I had my hubby help me with the cutting since he has experience with the miter saw. I cut my 4 pieces then stained them. I was trying to use stain I already had but I didn't like how it turned out so I did end up going out to buy some Minwax stain in the color Walnut.
DIY striped art - the colored door
This is my first attempt at making a frame and is probably not the best way but it did work in the end. Plus I knew it was going up high so no one would be able to see it up close.
1. I glued two (out of 4) of the corners togethers 2. I wanted to elevate my MDF, plus I needed something to glue it to so I cut a 1/2" piece off the end of a 4x4, then cut that into 4 pieces. I glued those pieces into each corner. (I hope that makes sense, I forgot to take pictures of that) 3.  I glued the other two corners togethers and put glue on top of the square wood pieces. That way the MDF would be glued in place.

DIY frame - the colored door
Here is a picture of the back with everything glued in place.

DIY frame - the colored door

One of my corners was not perfect. I may have cut one piece too short. To make sure the whole piece was secure I did what any good wood worker would do, I pulled out the glue gun. My Dad is an amazing wood worker and I am pretty sure he is cringing right now.

The glue gun did work great though. I glued along the seam between the wood and MDF all the way around.

DIY frame - the colored door


DIY frame - the colored door

I love the colors and the stripes, it makes me want to make more with different designs. You can see the pretty big gap in the lower left corner. Oh well, I will do better next time.

DIY striped art - the colored door

I needed something that added color and height above my shelf and this works great! The project cost $12 for the materials not including the stain and I have two more pieces of MDF for future projects.

DIY striped art - the colored door

I hope you all had a great weekend. Our weather is supposed to get a little warmer this week and I can't wait. I will just be happy with some sunshine though. I need to get out in the gardens to clean things up.  My to do list is already piling up this week. Are you a list maker? I don't know what I would do without my lists.


Linking up at: Thrifty Decor ChickSkip to my LouMad in CraftsYesterday on TuesdayLove Grows WildHome Stories A to ZTiny SidekickWinthrop ChroniclesLil Mrs. ToriNot Just a HousewifeA few miner adjustmentsJust a Girl and her BlogOh my creativeDIY by DesignThe Walker fireside chatsThe Turquoise HomeThe Life of Jennifer Dawn733 BlogSomeday CraftsMy Paper CrazeCherished blissLamberts LatelyLiving Well spending lessImparting GraceJennifer RizzoLiz Marie BlogAddicted to DIY36th AvenueRemodelaholicNancherrow
Monday, April 21, 2014

Master Gallery Wall


I can't get enough of gallery walls, big and small. Gallery walls and stripes, love them! This particular wall in my bedroom is constantly changing. I hang something but don't love it so it only stays a short time, then the wall is empty again. Or I make something and I like too much so I put it somewhere else in my house where I can see it more often. Like the abstract art I did a little while ago. That was moved to the office. So this wall has been blank for a few months now. My husband began asking what happen to the picture that was here? Not a good sign when he starts asking why walls are blank.

So, I decided it need to be finished with something that would stay. So I came up with this. The only thing I didn't already have was a canvas, so this wall cost me $2, perfect!

Master gallery wall - the colored door

I knew I wanted some "love" art and I liked the idea of adding some gold. I decided to use my Silhouette and the "weld" feature. The weld feature allows you to take a script font (or any shape) and connect them to be one continuous word.

The day I wanted to work on this I didn't have any gold paper and had no plans in the next few days to make it to the store, so I made some. When I decide to work on something I want to do it now. Patience is not my strong suit. I grabbed some heavy duty white card stock and some craft paint and made my own gold paper.


paint for master gallery wall - the colored door

I used Martha Stewart Metallic paint in Gold and light gold. (The white pile of paint is mother of pearl, but I didn't end up using any of that). I mixed the two together using just a small amount of light gold.


Master gallery wall - the colored door

I wanted the brush marks to be seen so it wasn't a solid color.

master gallery wall - the colored door

I LOVE the way it turned out!! So simple. Exactly what I was looking for. I glued it onto a large piece of white paper and put it in a frame I already had.

Master gallery wall - the colored door

Next up was some monogram art. Again I used my Silhouette, but you could easily print out letters on your computer in any size and font and cut them out.

Make your own Monogram art - Master gallery wall - the colored door

I traced the letters and painted them with black craft paint.

Make your own monogram art!  Master gallery wall - the colored door

I am so pleased with the results. It works perfect for our master bedroom and I have no plans of moving anything. It was kind of fun going through old wedding pictures too. Wow we both look so much younger, how time flies!
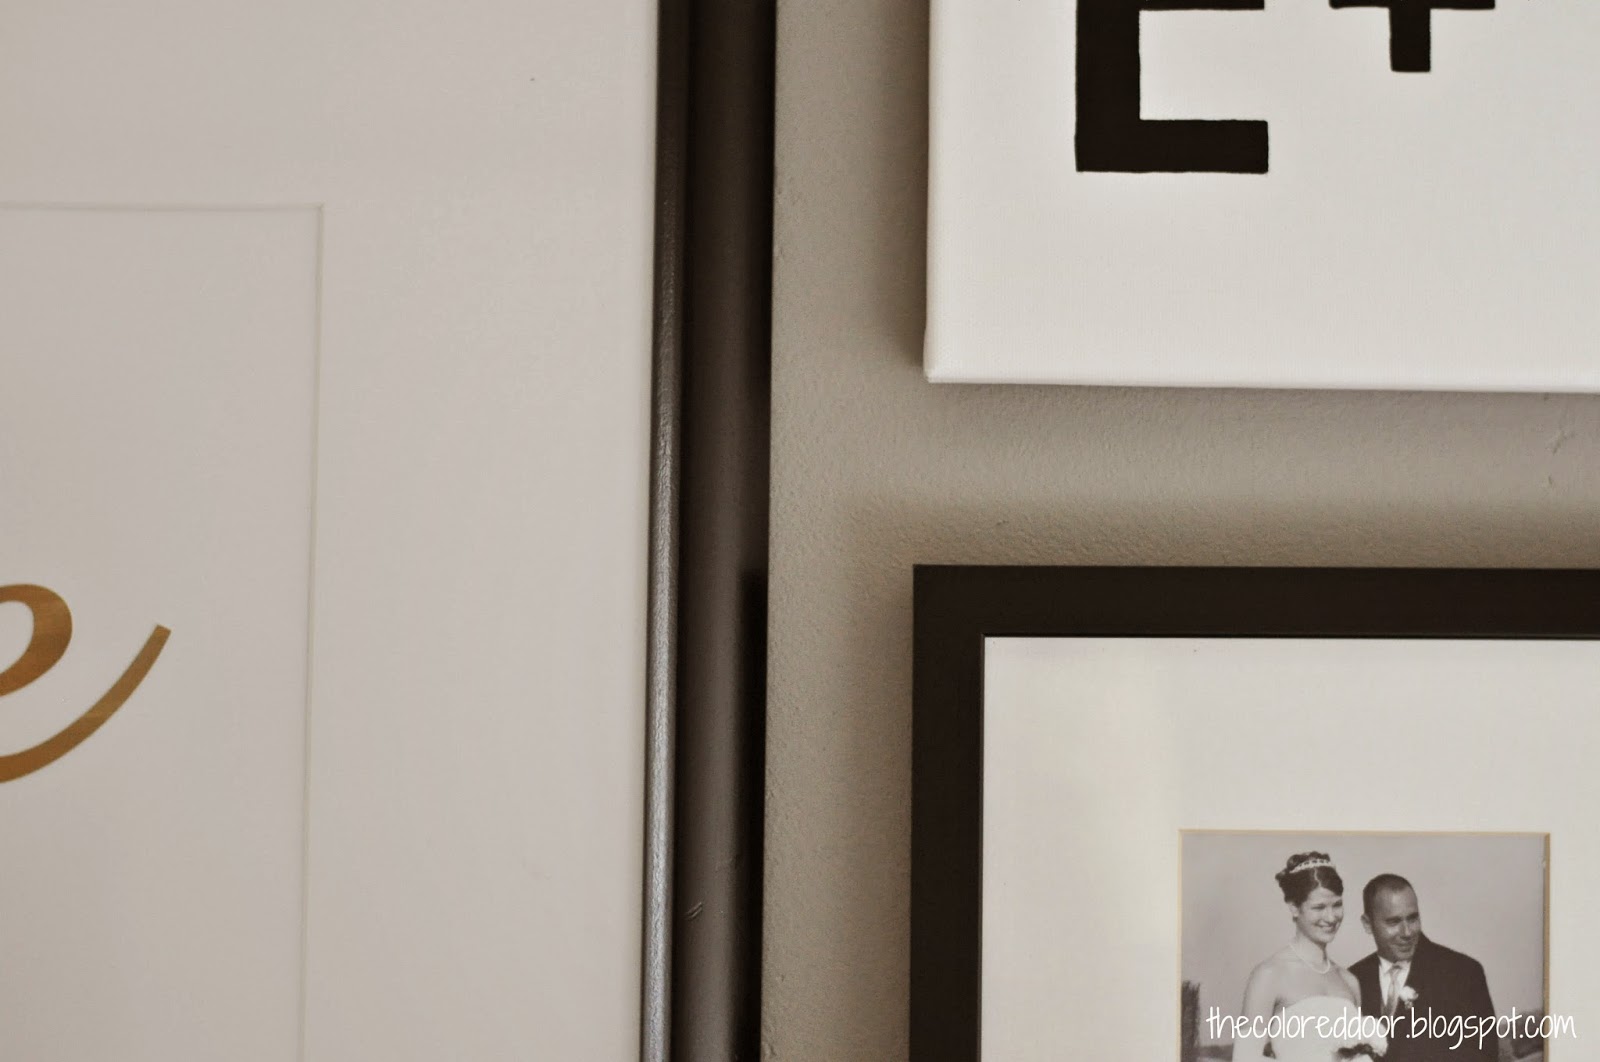
I am still toying with the idea of painting the big black frame gold. I tried white but didn't like that. My white spray paint did not match the mat and it looked funny. Maybe I need a different white. What are your thoughts? Keep the black or try gold? Or a different white spray paint?

master gallery wall - the colored door

Master gallery wall - the colored door

master gallery wall - the colored door


I hope you all had a wonderful Easter. I love seeing how excited the kids get for Easter morning, such fun memories.


Sharing over at: Skip to my LouMad in CraftsYesterday on TuesdayLove Grows WildHome Stories A to ZBlackberry VineCoastal CharmTiny SidekickWinthrop ChroniclesLil Mrs. ToriDIY by DesignThe Turquoise HomeSomeday CraftsFearlessly Creative733 BlogThe life of Jennifer DawnCherished blissLamberts LatelyLiving well spending lessimparting GraceJennifer RizzoLife in Velvetliz Marie Blogcraftberry bushThe 36th AvenueRemodelaholicNancherrowTatertots adn JelloBe different act normalThrifty Decor Chick
Tuesday, April 15, 2014

No. 5 Pillow


Yesterday I woke up to a blizzard and several inches of snow so I am hoping today brings lots of sunshine and warmer temps to melt all that snow. I shoveled the sidewalk but I refuse to shovel the driveway in April. The sun has some work to do. It was a great day to stay inside and get a few projects done though.

I have been wanting a number pillow for a while now. I knew I could make my own but for some reason it has taken a while to get it done. I made the pillow from left over fabric, I actually cut it out months ago. It is so easy to sew a pillow but the thought of pulling the sewing machine out of the closet and setting it up on the kitchen table seems like such a HUGE task.

Well it is finally done and I love it!

DIY painted no. pillow - the colored door


I cut a number 5 out with my Silhouette but you could easily do it with your computer and just use an x-acto knife to cut it out. The font I used was Century.

I placed it on my pillow and made sure it was centered. I used a pencil to outline the stencil. Then paint away! I used a fabric paint in black but you could add a fabric medium to any paint you have. Make sure you put plastic between the layers of the pillow because the paint will bleed through. I used gallon size zip lock bags.

DIY no. pillow - the colored door
I think this fabric paint is from Joanns, I have had it for a while.

paint for no. pillow - the colored door

I love how the pillow turned out, just like I imagined. I finished this chevron pillow a month or so ago and my no. 5 is the perfect addition.

DIY painted no. pillow - the colored door

DIY painted no. pillow - the colored door


DIY painted no. pillow - the colored door


Do you like to sew? Do you have a dedicated space to do it? Someday I hope too. I like sewing, I just don't like setting it up and breaking it down all the time. I am very grateful to have a sewing machine though, so I guess I shouldn't complain. I hope you have a bright sunny day!


Featured at: Cherished Bliss

Sharing over at: Tiny SidekickWinthrop ChroniclesLil Mrs. ToriNot Just a HousewifeA few miner adjustmentsThe Turquoise home733 BlogSomeday CraftsThe Life of Jennifer DawnCherished BlissLamberts LatelyLiving Well Spending LessImparting GraceLiz Marie BlogJennifer RizzoAddicted 2 DIY36th AvenueBe Different Act NormalSkip to my LouMad in CraftsYesterday on TuesdayLove Grows WildHome Stories A to ZBlackberry VineCoastal CharmFearlessly CreativeNancherrowThrifty Decor Chick
Wednesday, April 9, 2014

Painted Drapes Round-up


I have had my painted drapes for about a month now and I still LOVE them. They provide some much drama for a small price tag. I was looking around Pinterest for other painted drapes and found so many as inspiration, so I thought I would share some with you today. The possibilities are endless and each blogger has great tips on painting. I love all the different choices and methods.

painted drapes - the colored door

I did a tutorial on mine and it is not as hard as you might think. I still love my gray stripes!

The Colored Door (me)

The Blissful Bee made the cutest yellow chevron drapes, so happy.

The blissful Bee
Megan at Balancing Home made these beautiful stenciled drapes. I love the color and design.

Balancing Home
Kelly at View Along the Way has such a fun blog. If you have not checked out her blog you should. She has a great tutorial on painting her striped drapes. I followed her tutorial to make mine.

View Along the Way
I love Laura's striped drapes at The Turquoise Home. They offer just enough stripe to add some interest, very nice.

The Turquoise Home
The Hunter Interior painted some great chevron drapes. The color and size looks so nice.

The Hunted Interior
The Soulful House painted small stripes and they turned out perfect. It still amazes me what a little paint can do.

The Soulful House
So have you seen all the painted drapes lately? Do they look like something you want to have in your home? I was worried about the stiffness of them but they hang really nice and I never touch my drapes so I don't notice the stiffness.  Their are lots of great tutorials out there to follow!

Have a great day!


Sharing over at: The Turquoise HomeThe life of Jennifer Dawn733 BlogSomeday CraftsCherished BlissLamberts LatelyMostly Homemade MomNot Just a HousewifeThrifty Decor ChickThe child at heart blogLiving Well spending LessImparting GraceLiz Marie BlogJennifer RizzoCraftberry BushThe 36th AVenueRemodelaholicNancherrowTiny SidekickYesterday on Tuesday
Related Posts Plugin for WordPress, Blogger...