I first saw this tutorial on another blog and fell in love with her watercolor pictures. They were so casual and pretty, her work really is gorgeous. I decided I could give this a try. So next time I was at Target I picked up some watercolor paper. I think it was about $3 for 20 sheets. I already had the watercolors and brush from the kids stash.
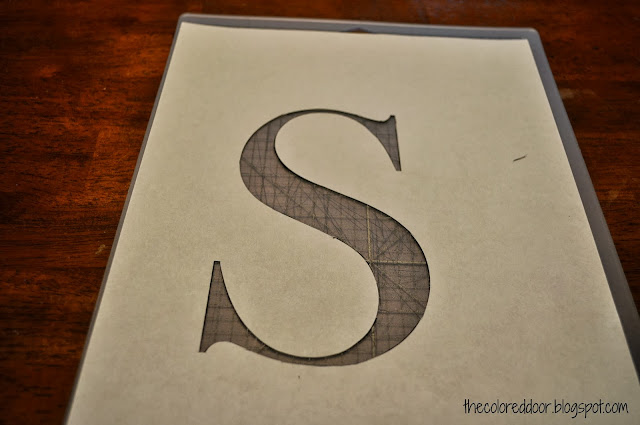
First I printed out a letter off the computer. I can not do free hand, but if you can you can skip printing the letter or numbers out. I used Baskerville Old Face in size 650.
I cut out the "S" with an x-acto knife on a self healing mat.
Next I place the template over top the water color paper and traced the "S" with a pencil.
I pulled out the kids watercolors and brushes, nothing fancy. I tested out different color combinations and practiced adding more water and less paints. I labeled each test so I could remember what colors I used.
I decided what colors I wanted to use and started painted up close to the lines then pulling the paint away from the pencil marks and went back and added more water and blended the colors.
Once the picture was dry, I erased the pencil marks. I could only erase some of them because the areas that had paint on them could not be erased. I like that you can see some of the pencil marks though, it gives it more depth.
This was such an easy project and I just love how it turned out! Now of course, I need to figure out where to put more in my house. Happy Painting!

Linked up at: Cherished Bliss, Lamberts Lately, Handy Man Crafty Woman, Someday Crafts, The Life of Jennifer Dawn, DIY by Design, Yesterday on Tuesday, Imparting Grace, A Glimpse Inside, Liz Marie Blog, A Stroll Thru Life, Life Inspired


I really love this idea, your "S" looks so pretty framed on your mantel! I am definitely going to give this a try, I already have the paints I just need to buy the paper. Thanks for sharing!
ReplyDeleteThank you Brittany! It was a fun project.
ReplyDeleteWhat a fabulous idea, I love this and thanks for the tutorial. http://www.astrollthrulife.net/2013/10/fall-in-breakfast-room.html
ReplyDelete